Plugging Holes
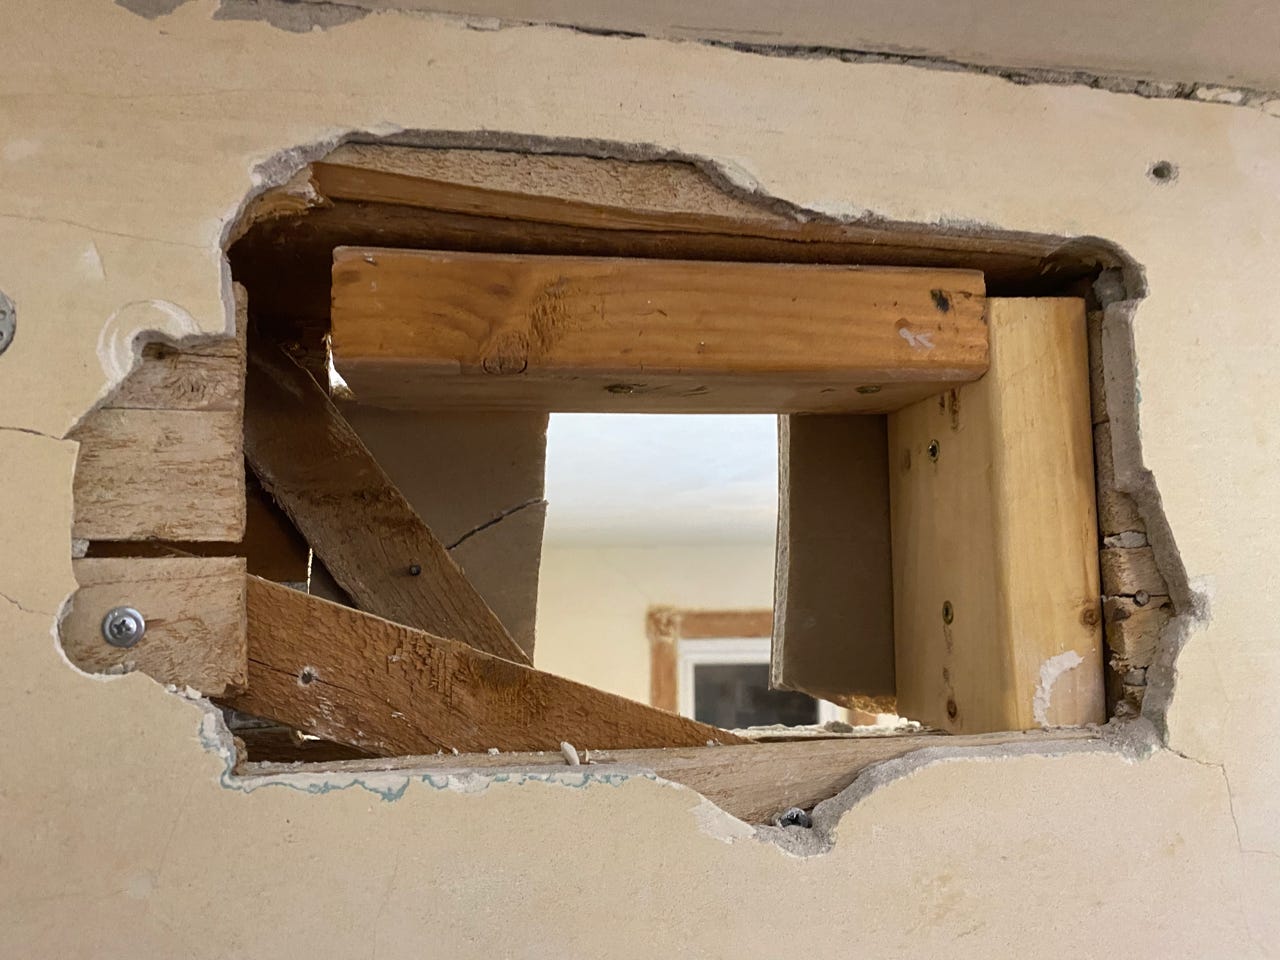
With the living room downstairs all done except for the floor, I circle back up the stairs to the 2nd story landing to revisit the work up there. When I stopped work up here, I had gotten all of the plaster and woodwork stripped of paint. The woodwork was oiled and I started some plaster washers in the ceiling and walls, and even some Durabond90 patching. There are 2 bedroom doors that are refinished, 2 doors that had a first pass of stripping, and 1 door that I stained but sanded off because I left too many scratches in the wood. My next job is to replaster the landing area and get all of the wood stained and varnished. Before I start the plastering, there are a two large holes that need fixing. These holes are from the old HVAC ducts and were patched up by the contractors who built the soffit. The patches look fine, but like all of the other repairs, I want to replace the joint compound fixes with plaster. I scrape away the joint compound on the hole and get down to pieces of drywall that were inserted into the hole as a patch. Both of the repairs used techniques I saw on YouTube where the patch is secured in place by cutting the patch to fit, but leaving a good overlap of drywall paper. You then secure the patch by mudding it all up and the joint compound secures the paper to keep the patch in place. For the first hole I decide to go with Structolite and build up some coats of plaster to level with the existing wall. With the patch out there’s nothing to secure the new plaster to. I check some of the plaster on the left side of the hole and it’s a bit crumbly, so I cut that back to expose some wood lath which will give me something to build new plaster on to. For the right side of the hole, there is a stud so I cut a small piece of a 2x4 that I can use to secure lath to. I also cut another piece of 2x4 and screw that to the joist at the top of the hole.
I thought about putting new wood lath in, but since I don’t want to chip away to the next stud at the corner, I won’t have anything to secure the wood lath to the left side. Also Structolite recommends wire lath, so I decide to just go with that for the repair. I cut some wire lath to fit the hole and then screw that on to the sistered 2x4s and the exposed wood lath. While I’m working on this hole, there’s a circular hole in the ceiling that is covered up. It’s plugged with some kind of expanding foam instead of joint compound so it takes a bit more work to clean this out, but after I do, I notice this was an older light fixture. It looks like it is the remnant of the knob and tubing wiring that was originally in the house. I check it for voltage and it’s dead as I expected, so it’s safe to also add some metal lath to this hole in preparation for Structolite. Finally I coat everything in PlasterWeld and let that dry a little bit.
I mix up some StructoLite and trowel that into the hole and then give it a scratch with a metal comb. I get the repair pretty level, but I will apply another one later to get it smoothed off to match the existing plaster. My StructoLite bag seems like it’s going bad because it stiffens quicker than I am used to, but the holes are small enough that I can knock them out before it hardens in the bucket.
The other HVAC hole is similar and I do the same type of prep by sistering in pieces of a 2x4 to give me some anchors to attach to. I don’t have a good reason, but I decide to do this repair as a piece of drywall and just have it secured better using the 2x4s to screw into instead of just holding from joint compound. I make a pattern using some brown construction paper and then start working on cutting a patch. I mess up a few because I put the cuts on the wrong side of the drywall when I traced from the pattern. I step away from that and look at one final hole. This one is in the wall near the ceiling and it is plugged with more expanding foam. I chip away at the foam and find that it is hiding a wire, but this time it’s not the old knob and tube, but a modern and active wire. This was where they fished the wires through the plaster when they decommissioned the knob and tube. I don’t want to mess with that so I will just re-seal that hole back up with more foam.

As a final task, I do a few more passes on the living room floor with KrudKutter and get some more of the blackened char off the floor.


